Colour Grading Analysis
- Jul 14, 2023
- 2 min read
Updated: Sep 25, 2023
The colour grading was due to Asher, however there is a lot of information I have to explain that went into the colour grading.
For starters, we had to know what type of vibe we wanted right from the beginning. If you recall, on my mood board post, I spoke about what we visualised for our film. Well this really comes into play at the colour grading stage. As you'll see in the mood board, we want to aim for a blue/grey look, which isn't overly saturated.
Matthew had the role of editor, so here is his summary of further editing to then transfer to Asher, so she was able to achieve the colour grading...
I first sent Asher a list of names of the clips I am using in the edit. She then imported those clips into Davinci Resolve, where she began working on them.
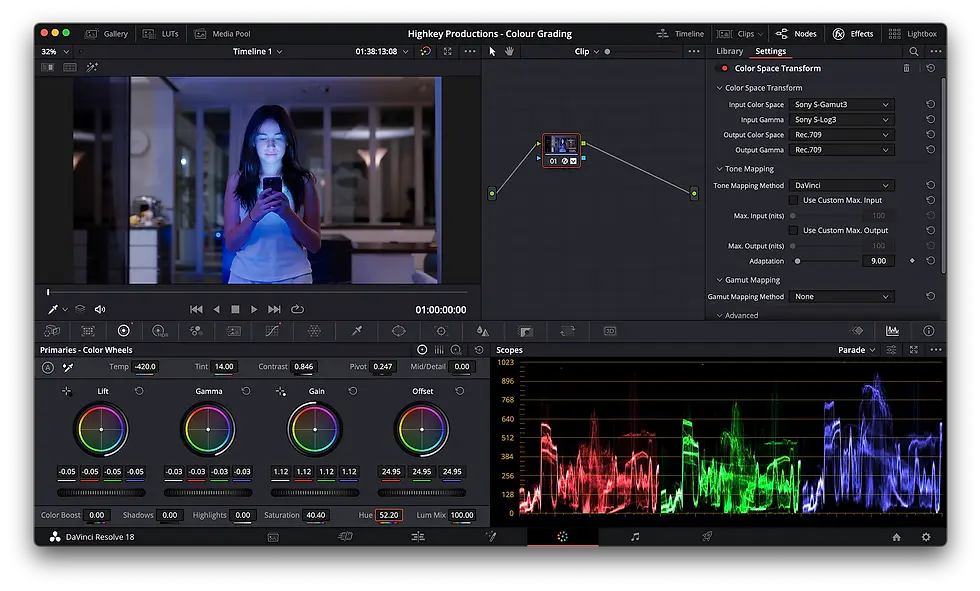
1. Colour Space Transform (CST):
The CST node (Colour Space Transform) converts the LOG footage which was in Sony S-Log3, into standard Rec709. This allowed Asher to work on the colours in a more accurate colour space, while retaining all the information which is stored in the LOG picture.
BEFORE CST:

AFTER CST:

2. Exposure, Hue, Saturation, etc:
Asher then started playing with the other colour related settings. This included exposure dials, hue/saturation curves, as well as creating masks around Sam to make her skin tones accurate while affecting the background of the shots.
3. Repeat and Finished:
Asher then repeated this process with all of the clips that I asked her for. Once she was done, she exported them and put them on a hard drive. I then took the clips and replaced my timeline's MXF files with her exported MP4 files.
(Special effects... Post - Production)


Comments